Introduction
When it comes to new technology, inspection ROVs (or, remotely operated vehicles) are making their way into industries around the world. As more industries adopt robotic systems and artificial intelligence into their daily operations, it’s becoming essential for professionals to stay ahead of the curve.The good news? Modern ROVs are a far cry from the complex, unreliable tools of the past. Today’s systems are streamlined, rugged, and built for real-world operations.
Remotely operated vehicles are proving themselves across a wide range of industries—including search and rescue, defense, offshore oil and gas, infrastructure inspection, and marine research—by offering a safer, more efficient, and cost-effective alternative to traditional methods.
If you’ve been skeptical of adopting this kind of technology, you’re not alone—but we’re here to show you just how simple and practical it can be. In this article, we’ll walk you through how to set up and deploy a professional-grade inspection ROV, start to finish. The entire process takes under 3 minutes.
Take the first step toward becoming an ROV pilot—it’s easier than you think.
What is an Inspection ROV?
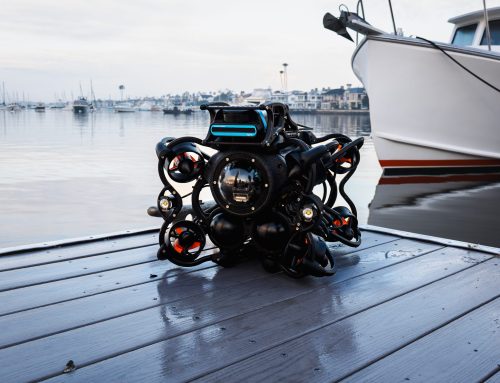
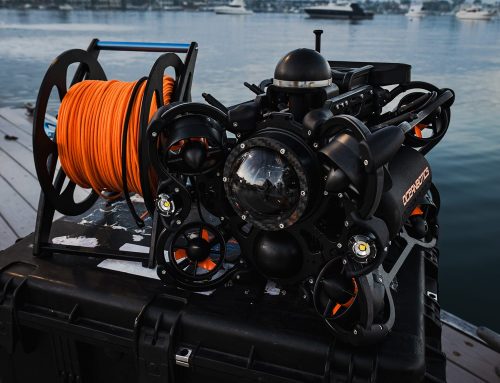
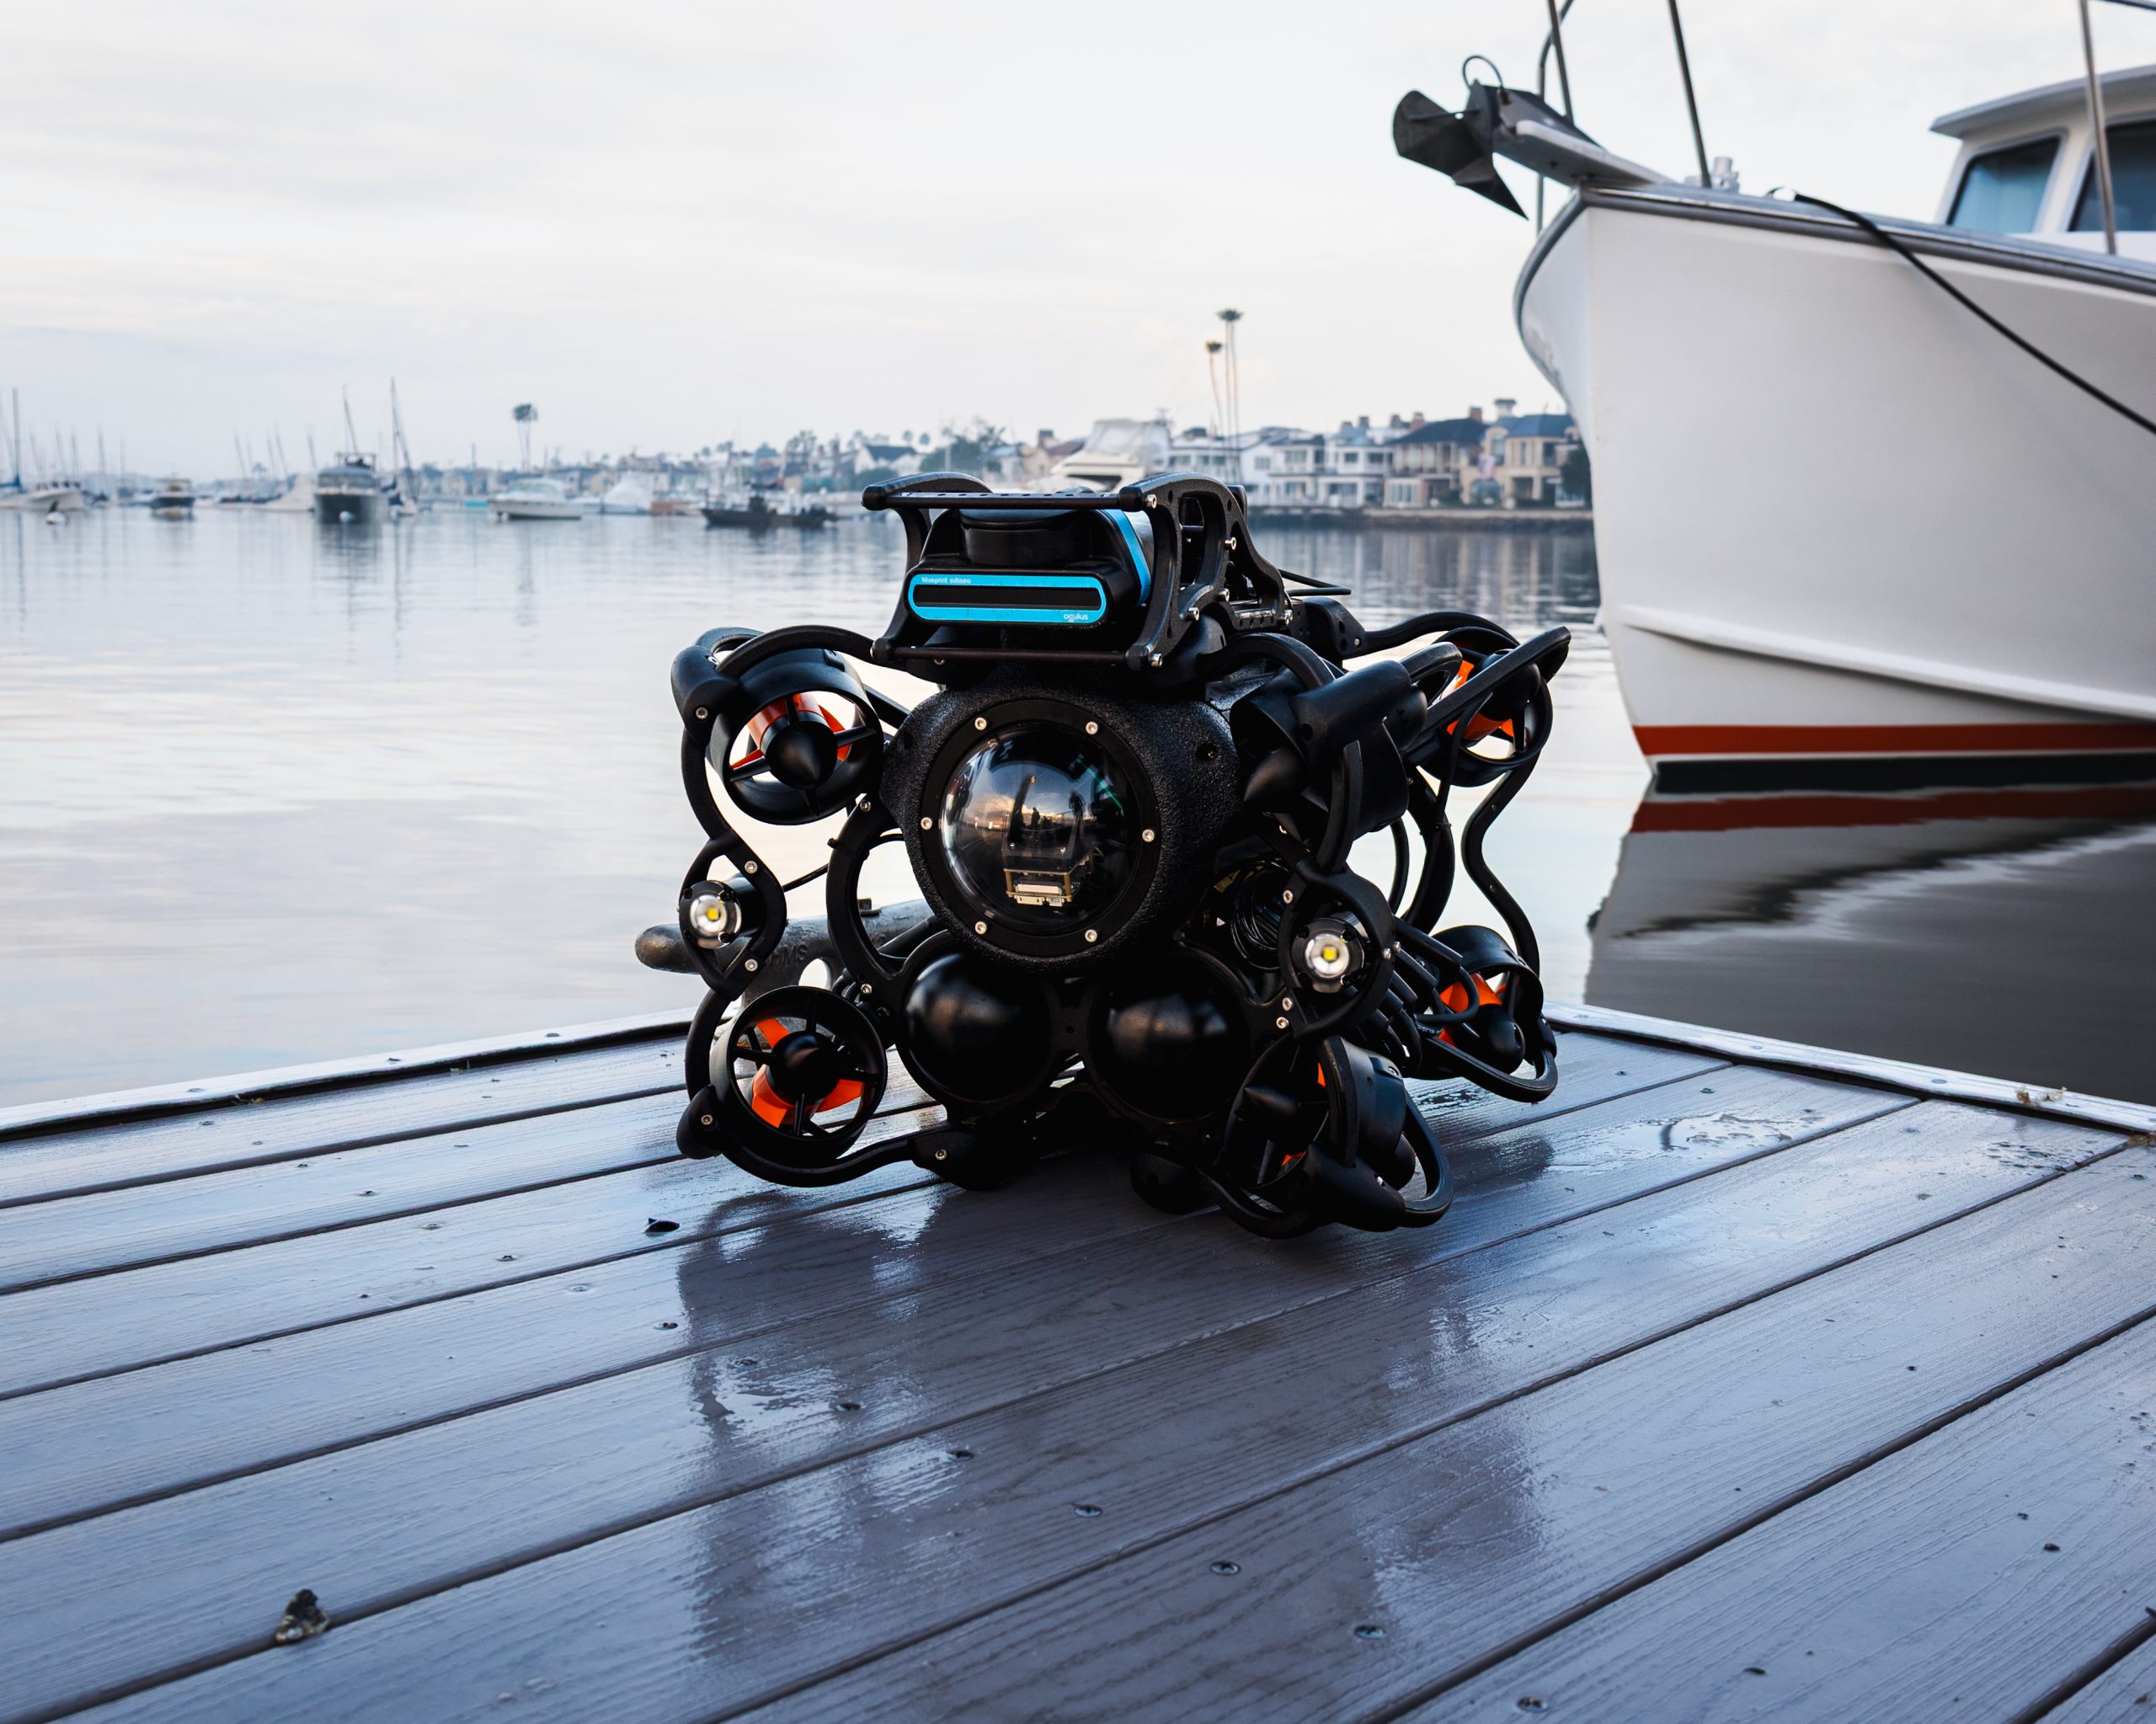
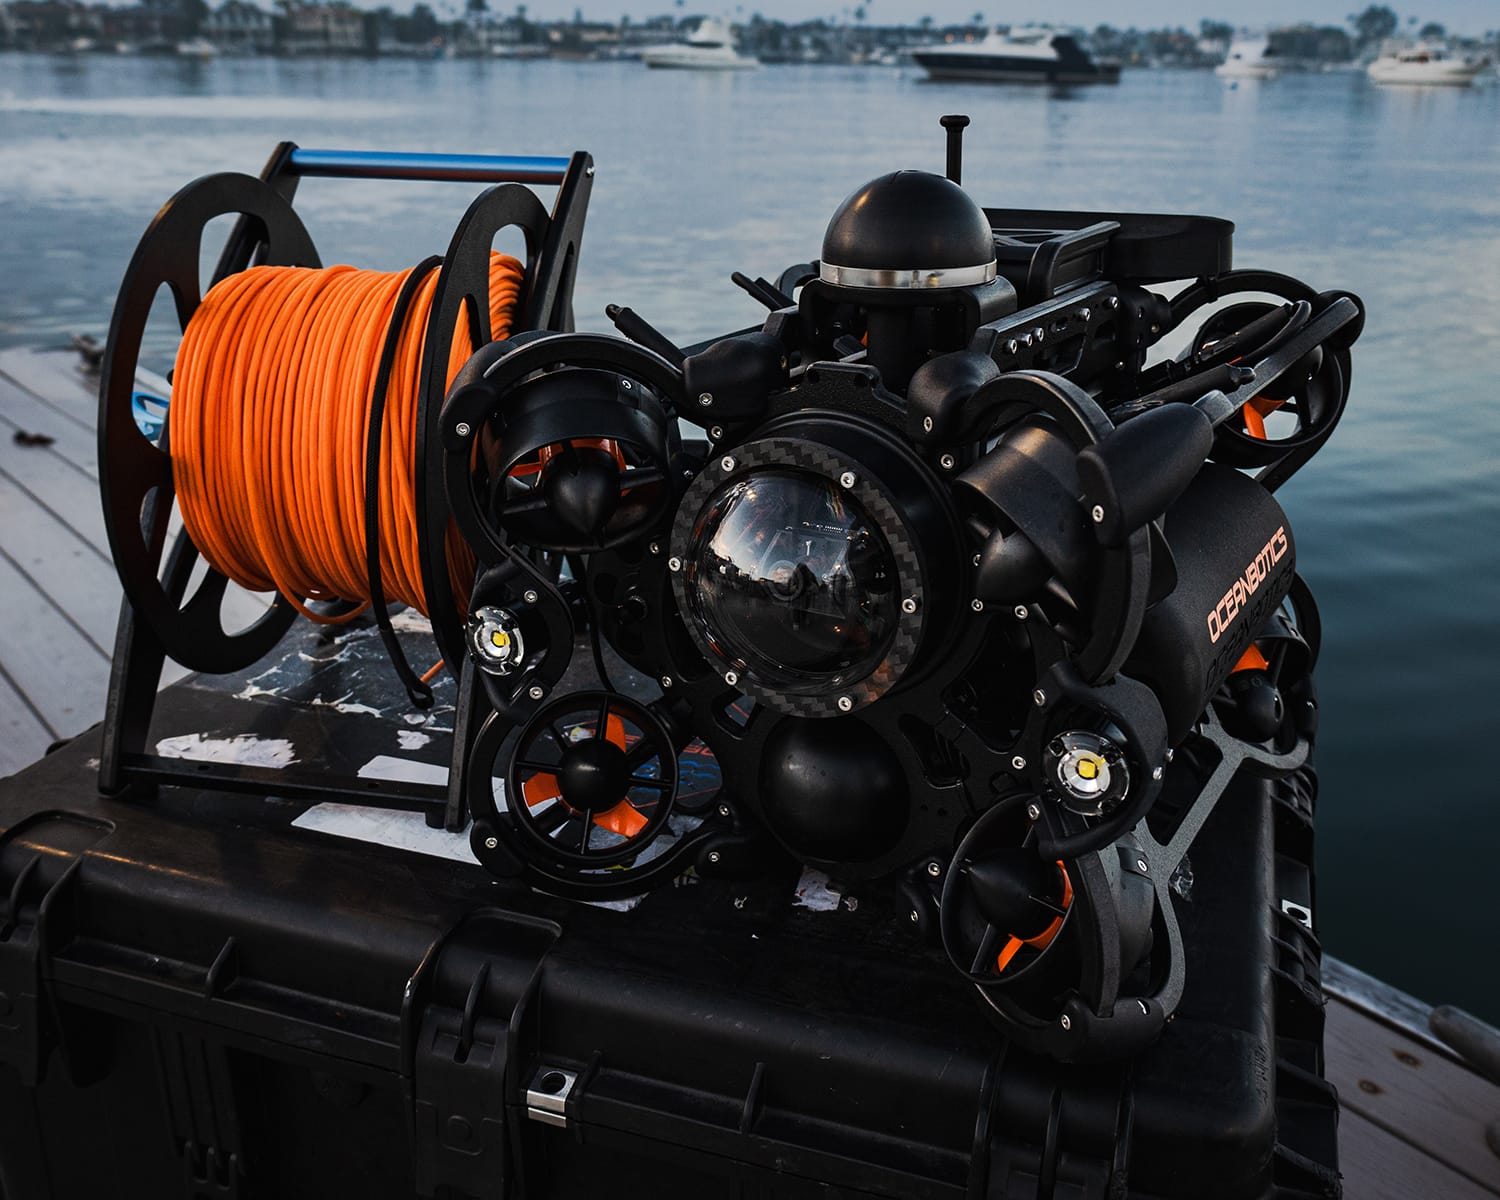
An inspection ROV is a professional-grade underwater vehicle designed to carry out inspection tasks in oceans and lakes. These systems are typically compact and portable, often deployable by a single operator.
Despite their size, inspection ROVs are highly capable. They can be equipped with a wide range of mission-specific tools such as imaging sonar, USBL positioning systems, auxiliary cameras, and manipulator arms, making them a versatile solution for a wide range of underwater operations.

How to Set Up and Deploy an Inspection ROV
1. Insert Batteries into the ROV
Place both batteries into the vehicle and ensure they are locked securely in place. Connect each battery lead to the corresponding battery. Turn the On/Off switch to the on position.

2. Connect the Tether and Strain Relief
Plug the tether into the tether port of the ROV. Insert the tether loop into the tether locking sleeve to secure the lifting point.

3. Connect the Patch Cable
Attach the patch cable to the tether reel and the DIM Box.


4. Connect the DIM Box to the Laptop
Plug the DIM Box into the ruggedized laptop via USB-C.

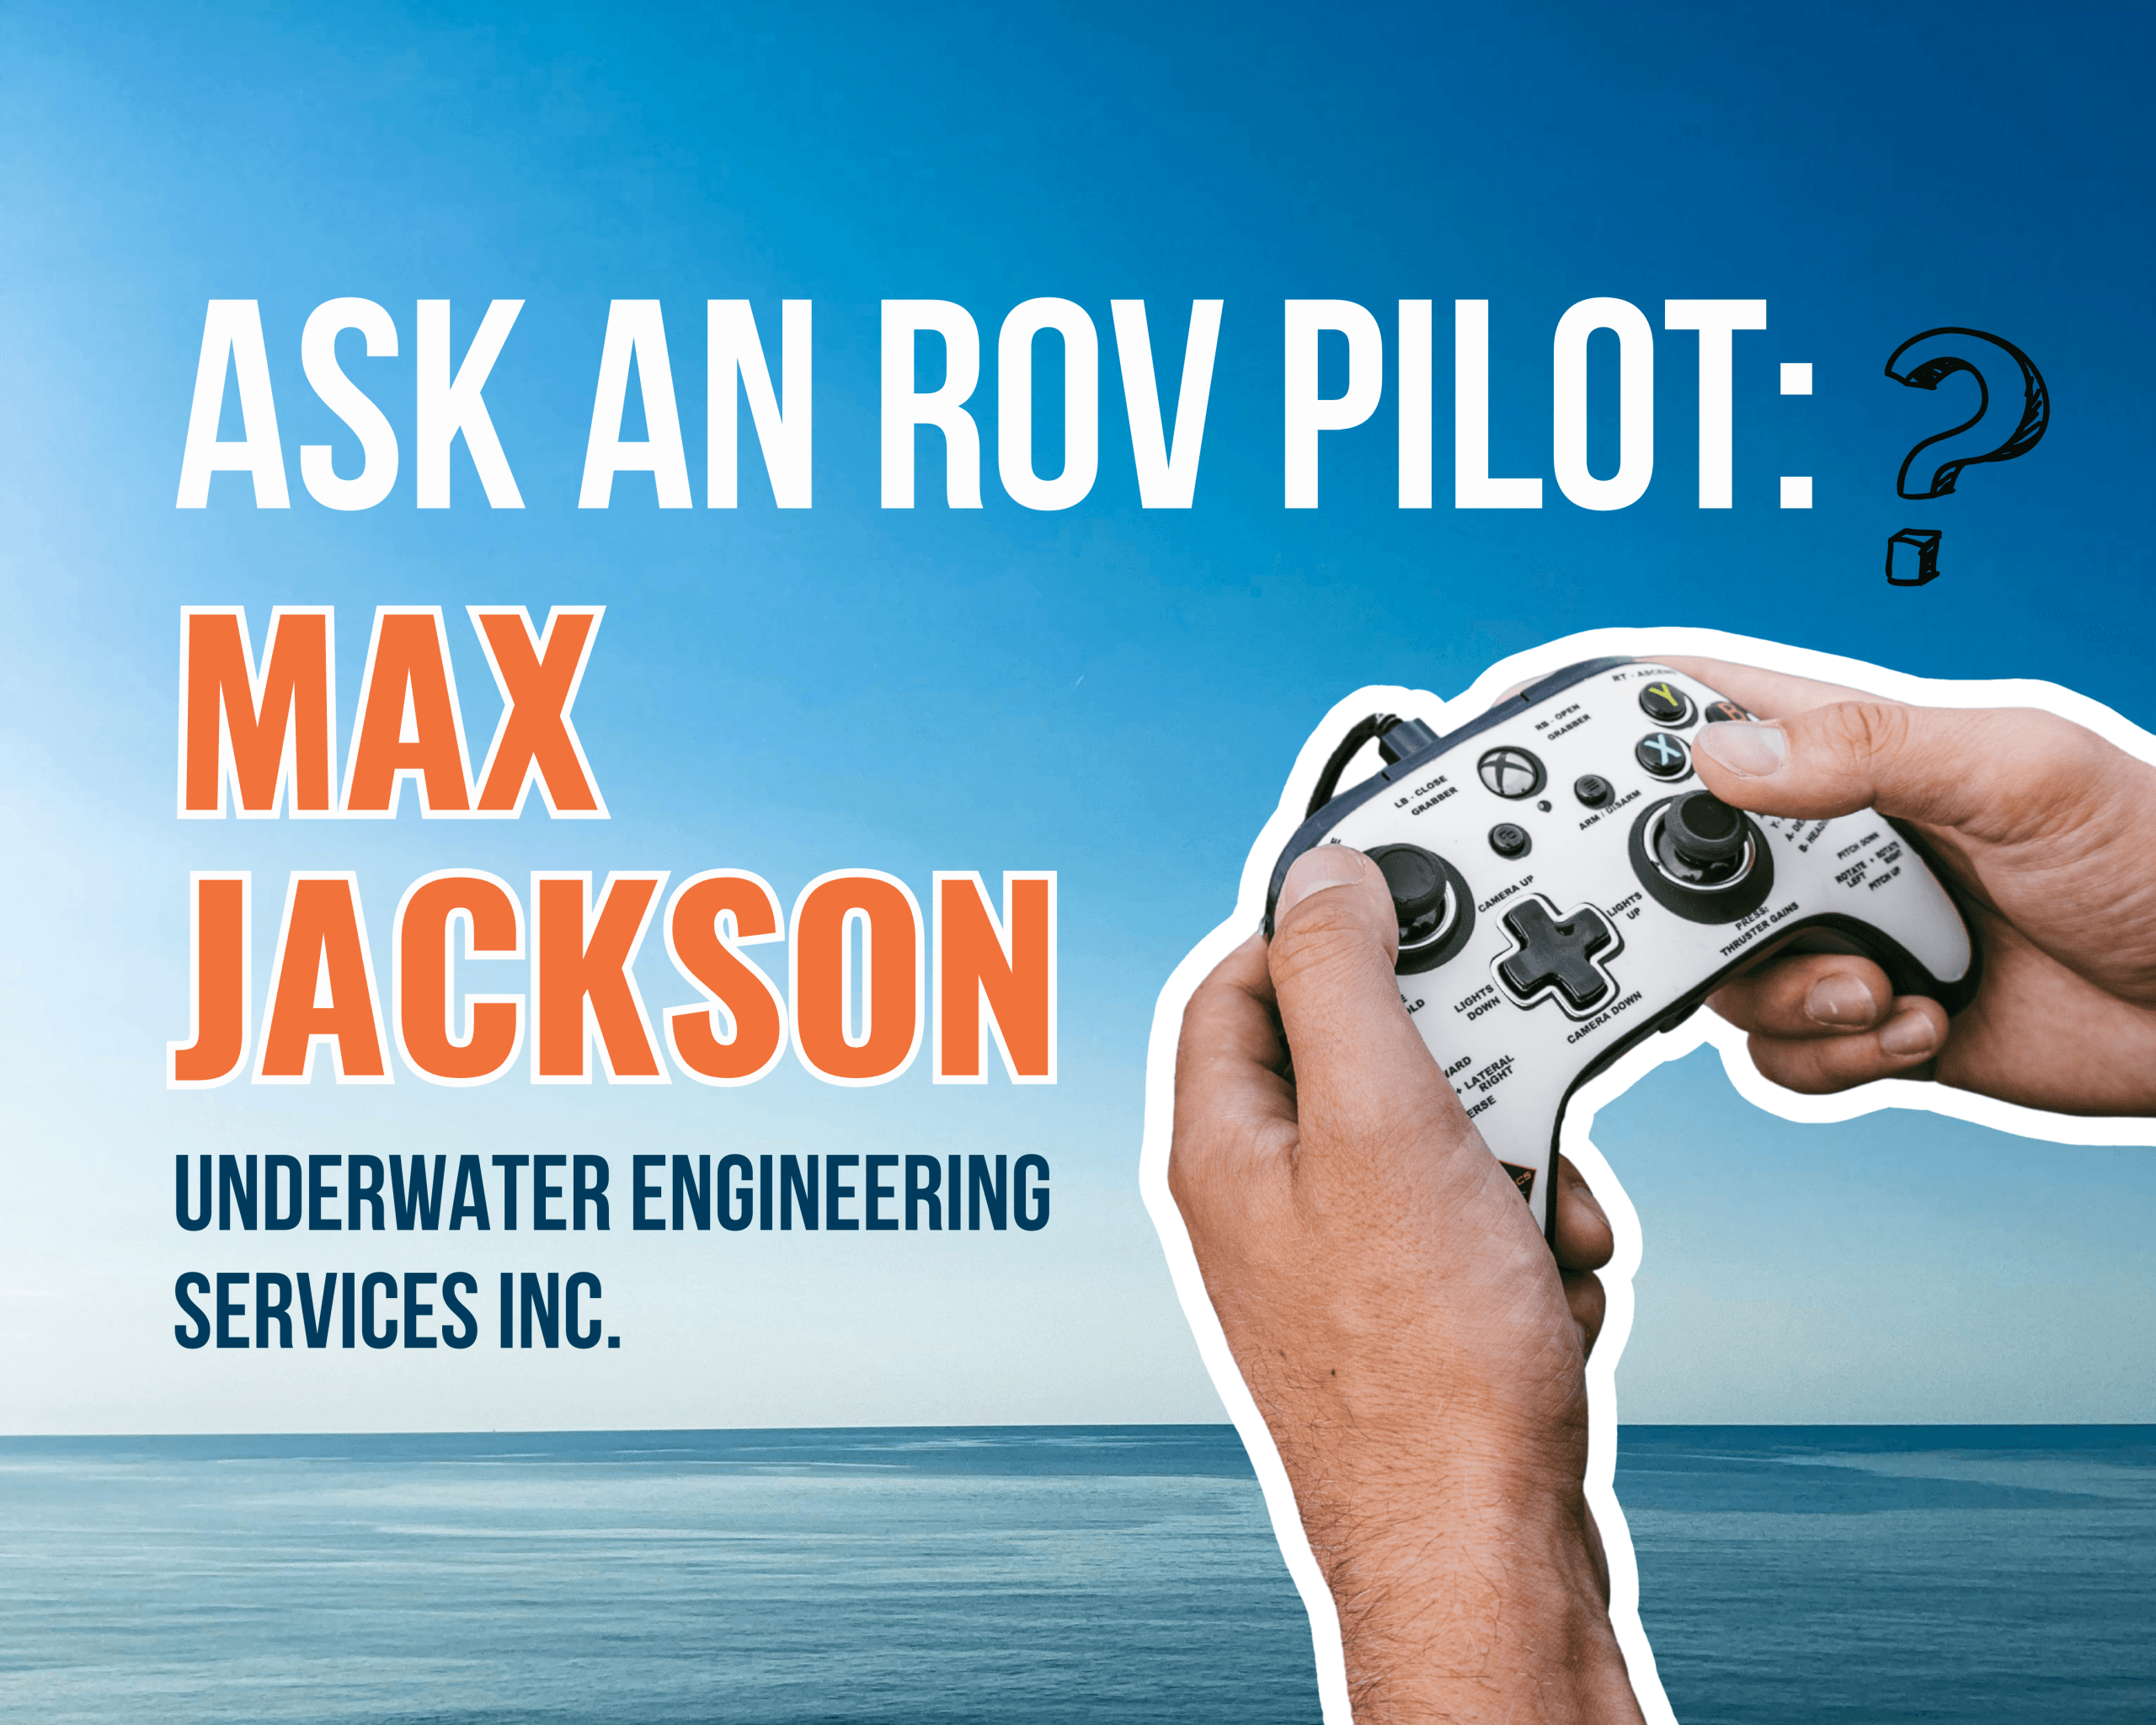
5. Connect the Controller
Plug the controller into the ruggedized laptop.

6. Launch ROV Operating Software
Open SubNav OS and establish a connection with the ROV.

7. Splash the ROV (Deployment)
Lower the inspection ROV into the water and begin your mission.

Conclusion
When it comes to underwater missions, time and ease of use matter. That’s why we continually optimize our vehicles to ensure rapid setup and intuitive operation—so your team can deploy quickly, with minimal ramp-up time.
With a streamlined learning curve, your team can spend less time training and more time in the water, getting the job done.
If you’re looking for a robust inspection-class ROV, like the SRV-8, capable of object retrieval, pipeline inspection, underwater surveillance, evidence recovery, or marine research, our team is ready to help you identify the right solution for your operational needs.


